

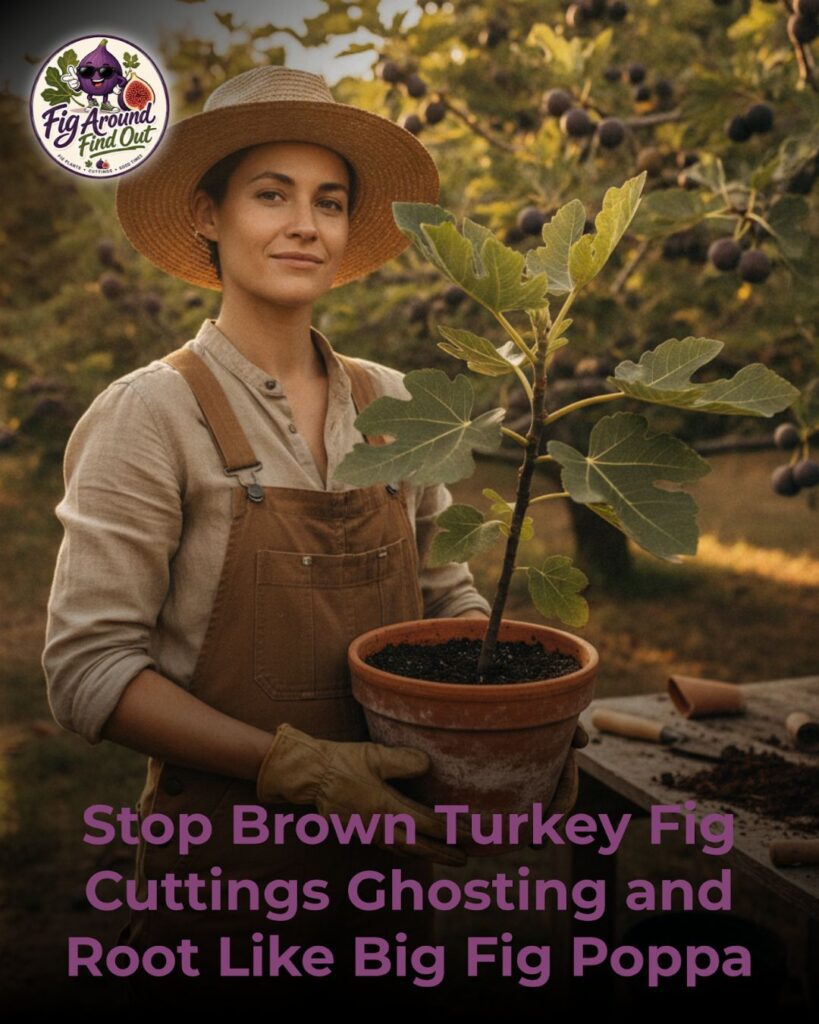
Stop Brown Turkey Fig Cuttings Ghosting and Root Like Big Fig Poppa
The Mystery of the Ghosting Brown Turkey Cutting
You’ve been there. I’ve been there. We’ve all stood over a plastic cup in the garage, staring at a Brown Turkey fig cutting that looked like it was ready to conquer the world two weeks ago, only to watch it slowly shrivel into a sad, brown stick of disappointment. It’s the ultimate horticultural betrayal. One day it’s pushing out a tiny, hopeful leaf, and the next, it’s ghosting you harder than a bad Tinder date. No roots, no growth, just vibes and a lingering sense of failure.
But here’s the truth: Brown Turkey figs are actually some of the most resilient, productive, and forgiving varieties in the fig world. If they’re failing to root, it’s usually not because the plant is stubborn; it’s because we’ve missed a step in the delicate dance of propagation. Growing a tree from a stick is essentially a magic trick, and like any good trick, it requires the right setup, a bit of misdirection, and a lot of patience. Today, we’re going to turn you into Big Fig Poppa (or Momma) and ensure your cuttings actually develop the root systems they need to become the backyard legends they were born to be.
Why Brown Turkey? The Gateway Fig
Before we dive into the “how,” let’s talk about the “why.” The Brown Turkey is the classic. It’s the variety your grandmother probably had growing against the south side of her house. It’s hardy, it produces twice a year (the breba crop and the main crop), and it tastes like sugary, jammy sunshine. It’s the gateway fig that turns casual gardeners into obsessed collectors with twenty-five trees and a “reserved for figs” section in the refrigerator.
Because it’s so common, people often treat Brown Turkey cuttings with a “stick it in the dirt and hope” mentality. While that works sometimes, especially in humid climates with perfect soil, most of us need a more surgical approach. Whether you’re trying to clone a sentimental family tree or you’ve just scored some premium cuttings online, treating them with respect is the difference between a forest and a compost pile.
The Anatomy of a Winner: Selecting Your Cuttings
Success starts long before you touch a bag of perlite. If you start with a weak cutting, you’re basically trying to win a marathon with a broken toe. When you’re taking cuttings from a dormant Brown Turkey—usually in late winter or early spring—you want to look for “the Goldilocks wood.”
You want wood that is about the thickness of a Sharpie or a pencil. If it’s as thin as a toothpick, it doesn’t have enough stored carbohydrates to fuel root growth before it dries out. If it’s as thick as a baseball bat, it might be too old and woody to easily calloused. Look for that beautiful, greyish-brown bark with plenty of “nodes”—those little bumps where leaves and branches used to be. Each node is a concentrated bundle of plant stem cells, essentially a “choose your own adventure” kit for the plant. It can become a leaf, or it can become a root. Our job is to convince it to choose roots first.
Always make sure your cutting has at least three to four nodes. I like to cut the bottom of my cuttings flat, right below a node, and the top at an angle. This isn’t just for aesthetics; the angle helps water shed off the top so it doesn’t rot, and the flat bottom tells me which end is “down” so I don’t accidentally try to plant my fig upside down. Believe me, I’ve done it. The fig doesn’t appreciate the Australian perspective.
The Prep Work: Scrub-a-Dub-Dub
Your cuttings have likely been outside, braving the elements, bird droppings, and fungal spores. Before you put them into a warm, humid environment—which is also a paradise for mold—you need to give them a bath. I usually soak my cuttings in a very dilute solution of water and a splash of dish soap or a mild bleach solution (about 1 part bleach to 10 parts water) for about ten to twenty minutes. This kills off any hitchhiking pathogens that want to turn your cutting into a fuzzy science project.
Once they’re clean and dry, I highly recommend sealing the top cut. You can use specialized grafting wax, or you can do what I do: reach for the wood glue or even a bit of candle wax. By sealing the top, you prevent the cutting from losing its internal moisture through the exposed “wound.” Remember, until this stick has roots, it has no way to drink. It’s living on its internal reserves, and we want to hoard those reserves like a dragon hoards gold.
The Rooting Environment: Warm Feet, Cool Heads
This is the secret sauce. If you learn nothing else today, remember this: fig cuttings root best when their “feet” (the bottom of the cutting) are warm and their “heads” (the top where the leaves grow) are relatively cool. Why? Because warmth triggers cellular activity and root development. If the top of the cutting is too warm, it will try to push out leaves. If leaves grow before roots exist, the leaves will pump out all the cutting’s moisture, and the whole thing will collapse. This is exactly what causes “ghosting.”
I recommend using a seedling heat mat set to about 75°F to 78°F. Place your pots or rooting bags on the mat. If your room temperature is around 60°F to 65°F, you’ve created the perfect environment. The bottom is cooking up some roots while the top stays dormant and patient. It’s like a spa day for the bottom and a winter nap for the top.
Choosing Your Medium: Soil vs. The “Fig Pop”
There are a dozen ways to root a fig, and everyone has a favorite. I’ve tried them all, from the “cup of water on the windowsill” method (risky and prone to rot) to the “bury it in the garden” method (unreliable). Here are the two most successful methods for Brown Turkeys:
1. The “Fig Pop” Method
This is my personal favorite. You take a long, narrow plastic bag (like a bread bag or a specialized nursery sleeve), fill it with lightly moistened coconut coir or perlite, insert the cutting so at least two nodes are buried, and tie the top around the stem. This creates a self-contained biosphere. You can see the roots growing through the plastic, which is incredibly satisfying. It’s like having a front-row seat to a slow-motion biological explosion.
2. The Lightweight Potting Mix Method
If you prefer traditional pots, use a very light, well-draining mix. Straight perlite works, as does a 50/50 mix of peat moss and perlite. Avoid heavy garden soil or “moisture control” potting mixes that stay soggy. Fig roots enjoy a drink, but they do not need swimming lessons. If the medium is too wet, the bottom of your cutting will simply rot and turn into mush. We want “moist brownie” consistency, not “chocolate pudding.”
The “Leaf Is a Lie” Phase
About two to three weeks into the process, you’re going to see it: a tiny green bud opening at the top of your Brown Turkey cutting. You’ll be tempted to throw a party. You’ll want to call your friends and tell them you’re a master gardener. Don’t do it. That leaf is a liar.
In the early stages, a cutting can push out leaves using only the energy stored in the wood. It doesn’t mean there are roots. In fact, if you see leaves but no visible roots through the side of your clear cup or bag, you’re in the danger zone. The leaf is now evaporating water that the cutting can’t replace. If this happens, I often pinch off the tiny leaves to force the plant to refocus its energy back down to the root zone. It feels cruel, like telling a toddler they can’t have dessert, but it’s for their own good.
Hydration Management: Don’t Love It to Death
The number one killer of Brown Turkey cuttings is overwatering. Because we care, we want to give them water. But a cutting without roots can’t “drink” in the traditional sense. It only needs enough moisture in the air and the soil to keep the cells hydrated and prevent desiccation. If you are using the Fig Pop method, you likely won’t need to add water for weeks. If you’re using pots, only water when the top inch of the medium feels dry. If you’re unsure, wait a day. It is much easier to revive a slightly dry cutting than one that has succumbed to root rot. Rot is a one-way street, and the toll is your favorite fig variety.
The Patience Game: When to Pot Up
How do you know when you’ve actually succeeded? You’ll see white, fleshy roots circling the bottom of your container. They look like little noodles of success. Once you see a healthy network of roots—not just one or two lonely strands—it’s time to move your “Big Fig Poppa” into a larger home. Use a high-quality potting soil at this stage, but continue to be careful with the water. These “baby” roots are fragile and haven’t quite developed the toughness of an established tree.
At this stage, you can also start introducing very, very weak fertilizer. I’m talking about a quarter-strength liquid seaweed or fish emulsion. Don’t go hitting it with heavy synthetic nitrogen yet; you’ll burn those delicate new roots and find yourself right back at the “ghosting” stage, which is a tragedy nobody wants to witness twice.
Hardening Off: Welcome to the Real World
Your cutting has been living in a climate-controlled, humid, cozy indoor environment. Taking it straight out into the blazing sun or a stiff breeze is the equivalent of taking a pampered house cat and dropping it in the middle of the Serengeti. It’s not going to end well.
Spend a week “hardening off” your new tree. Put it outside in the shade for an hour the first day, two hours the second, and gradually increase its exposure to dappled sunlight and wind. This allows the leaves to thicken their cuticle (the waxy outer layer) and the stem to strengthen. By the end of the week, your Brown Turkey should be ready to face the world and start its journey toward becoming a massive, fruit-bearing machine.
Troubleshooting Common Brown Turkey Issues
- Mold on the stem: This usually means the air is too stagnant. If you’re using a humidity dome, take it off for a few hours a day to let things breathe. You can also wipe the mold off with a cotton swab dipped in cinnamon (a natural antifungal) or diluted hydrogen peroxide.
- Cutting turns black from the bottom: This is rot. It’s usually game over. If there’s still healthy green wood above the rot, you can try cutting off the black part, disinfecting the tool, and starting over in a drier medium.
- Leaves are yellowing: If the roots are established, this might be a sign of a nutrient deficiency or overwatering. Check the moisture levels first.
- Nothing is happening: Some cuttings are just slow. I’ve had Brown Turkeys sit for two months looking like dead sticks before suddenly exploding with roots. As long as the wood is green when you gently scratch the bark with your fingernail, there’s still hope.
The Figgy Smalls Philosophy of Failure
Look, I’ve killed more fig cuttings than most people have ever seen. I’ve accidentally baked them in the sun, drowned them in “kindness,” and even had a rogue squirrel make off with a rare variety I spent fifty bucks on. Not every cutting will root. That isn’t failure. That is horticultural tuition—and some semesters are more expensive than others. Each “ghosted” cutting is just a lesson in what not to do next time.
The Brown Turkey is a rewarding variety because once it gets going, it’s nearly unstoppable. It’s the tank of the fig world. By mastering the art of the cutting, you’re not just growing a tree; you’re gaining the skills to propagate any variety you encounter. You’re becoming self-sufficient, and you’re joining a global community of fig-obsessed weirdos who understand that there is nothing better than a perfectly ripe fruit picked straight from a tree you started as a six-inch stick.
Final Thoughts for the Aspiring Orchardist
Propagating Brown Turkey figs is a mix of science, intuition, and sheer stubbornness. Keep your tools sharp, your heat mats warm, and your watering can in check. Don’t be discouraged by a few brown sticks. The more you practice, the more you’ll develop a “feel” for the moisture and the timing. Before you know it, you’ll have so many rooted trees you’ll be handing them out to neighbors, coworkers, and the confused delivery driver who just wanted to drop off a package.
If you’re ready to stop the ghosting and start growing, make sure you have the right gear. Whether it’s high-quality cuttings, the perfect rooting medium, or just some expert-approved tools to make the job easier, we’ve got your back. Let’s get those roots moving and turn your backyard into the fig paradise it was meant to be.