

Turn Your Brown Turkey Cuttings Into Trees and Stick It to the Man
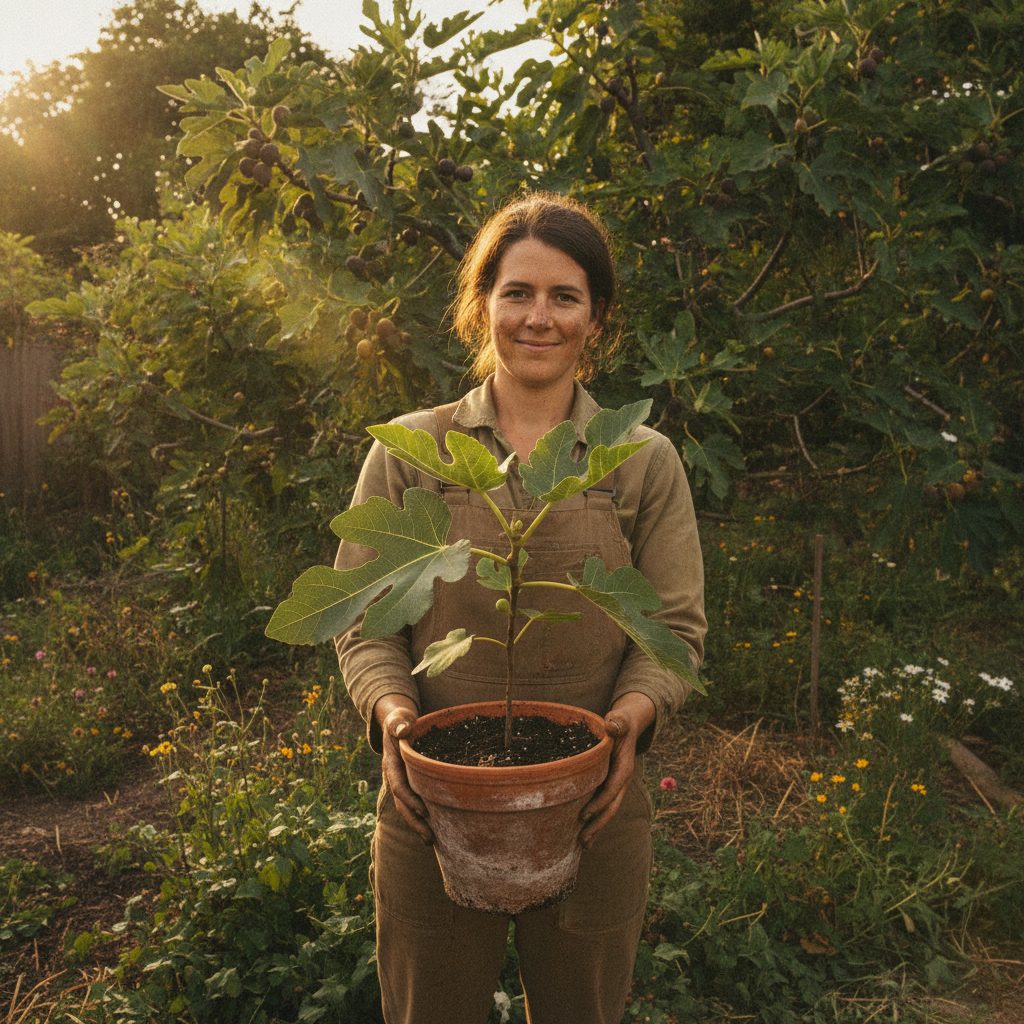
The Brown Turkey: The Gateway Fig to Your New Addiction
If you have ever stared at a $12 punnet of mediocre, rubbery figs at the grocery store and thought, “There has to be a better way to live,” you are correct. There is. It involves a pair of sharp pruners, a plastic bag, and a total disregard for your spouse’s concerns about how many plants are currently living in the guest bedroom. We are talking about the Brown Turkey fig, the undisputed heavyweight champion of the “I just want a tree that grows” category.
The Brown Turkey is the classic “stick it in the ground and get out of the way” variety. It is hardy, productive, and arguably the most common fig in the Western world. Because it is so ubiquitous, people often overlook it for flashier, more expensive varieties with names that sound like French perfume. But let me tell you, when it is late August and you are drowning in sweet, jammy fruit while your neighbor’s rare $200 boutique cutting is still deciding if it wants to grow a second leaf, you will appreciate the reliability of the Brown Turkey. Today, I am going to teach you how to take a simple cutting and turn it into a tree, bypassing the nursery markup and sticking it to the man in the process.
Understanding Your Cutting: What Are We Working With?
A fig cutting is essentially a stick that has been convinced it can be a tree. It’s a bit of botanical gaslighting, really. We take a dormant branch, provide it with warmth and moisture, and trick it into thinking it’s underground so it grows roots, while simultaneously tricking it into thinking it’s in the sun so it grows leaves. The Brown Turkey is particularly good at this game because it has a high vigor and a stubborn will to live.
Ideally, you want a cutting that is about 6 to 10 inches long and roughly the thickness of a Sharpie or your pinky finger. It should have at least three or four “nodes”—those little bumps on the bark where leaves and branches used to be. These nodes are where the magic happens; they contain the undifferentiated cells that can choose to become roots or shoots depending on their environment. If you’ve got a stick that looks like it could have been used as a wand in a low-budget wizard movie, you’re on the right track.
The Pre-Game: Prep and Sanitation
Before we get down to business, we need to talk about hygiene. No, I don’t care if you showered today, but your tools need to be clean. Using dirty pruners is like performing surgery with a rusty spoon. Wipe your blades down with rubbing alcohol to ensure you aren’t introducing pathogens into the fresh cuts. We want roots, not a fungal frat party.
If you just received your Brown Turkey cuttings in the mail or took them from a friend’s tree, give them a quick soak in room-temperature water for a few hours. This rehydrates the tissue. Think of it as a pre-flight drink for your future tree. Don’t leave them submerged for days, though. They need a drink, not a scuba lesson. After the soak, I like to gently scrape about an inch of the outer bark away at the bottom of the cutting to expose the green cambium layer. This “wounding” encourages the plant to send out a distress signal that translates to: “Quick, grow some roots here!”
The Method: The “Baggy” vs. The Direct-Pot
There are a dozen ways to root a fig cutting, and everyone has a favorite “secret” method they will defend with their life on internet forums. Personally, I like two methods for Brown Turkeys: the Ziploc Baggy Method and the Direct-Pot Method. Both work, but they satisfy different levels of gardening anxiety.
The Ziploc Baggy Method (For the Impatient)
This is great if you like to watch things happen. Wrap the bottom half of your cuttings in a damp (not dripping) paper towel or a handful of moist coconut coir. Place them in a clear plastic bag, seal it, and put it somewhere warm—like on top of the refrigerator or near a seedling heat mat. Do not put them in direct sunlight yet, or you will end up with steamed fig sticks, which are significantly less delicious than actual figs.
In a week or two, you’ll see white nubs or long, spindly roots appearing through the bag. Once you have roots that are an inch or two long, it’s time to move them to a pot with soil. It’s like a prenatal ultrasound for plants, and it’s highly addictive.
The Direct-Pot Method (For the “Set It and Forget It” Crowd)
This is my preferred method because it skips a transplant step. Take a 4-inch deep pot (or a clear plastic cup with holes poked in the bottom so you can spy on the roots later) and fill it with a well-draining medium. I like a mix of 50% potting soil and 50% perlite. Push the cutting into the soil until at least two nodes are buried. Firm the soil around it, give it a light watering, and cover the top with a clear plastic dome or a gallon bag to keep the humidity high. Keep it in a warm, bright spot out of direct sun.
Watering: The Fine Line Between Life and Decay
This is where most people mess up. They love their cuttings too much. They see the soil look a little dry on top and they douse it. Stop it. Fig cuttings do not have leaves yet, which means they aren’t transpiring water. If you keep the soil saturated, the cutting will simply rot and turn into a mushy, brown disappointment. This is why I call it “horticultural tuition.” If you lose one to rot, you’ve just paid for a lesson in drainage.
Keep the soil evenly moist, like a wrung-out sponge. If you are using a humidity dome, you probably won’t need to water at all for several weeks. If you see condensation on the inside of your dome or bag, there is enough moisture. If the soil feels like a desert, give it a tablespoon or two of water. We want the roots to “search” for moisture. A little struggle builds character.
Let There Be Light (But Not Too Much)
Once your Brown Turkey cutting starts pushing out green leaves, it is going to get very excited. It thinks it’s a tree now. Calm down, little buddy. Those first few leaves are living off the energy stored in the stick, not from the roots, which are likely still very fragile. Do not rush them into the scorching afternoon sun. They will wilt faster than my will to exercise on a Monday morning.
Gradually introduce them to light. Start with bright, indirect light indoors. If you’re moving them outside, do it over the course of a week—an hour of morning sun the first day, two hours the next, and so on. This process is called “hardening off,” and it is the difference between a thriving tree and a crispy stick of regret.
Troubleshooting Common Fig Fails
Even with a variety as hardy as the Brown Turkey, things can go sideways. Here are a few things to watch for:
- The Moldy Stick: If you see fuzzy white or gray mold growing on the bark, your humidity is too high or your airflow is too low. Wipe it off with a diluted hydrogen peroxide solution and give the cutting some fresh air.
- The “Leaf but No Root” Syndrome: Sometimes a cutting will push out big, beautiful leaves before it has grown a single root. This is a trap. The cutting is using up its last reserves. If this happens, keep the humidity high to support the leaves until the roots can catch up. If the leaves get too big and start wilting the whole stick, you might even need to pinch off the largest leaf to save energy.
- Fungus Gnats: These little jerks love moist potting soil. If you see tiny black flies buzzing around, you are likely overwatering. Let the soil dry out more or use a bit of mosquito bit tea to kill the larvae.
Why the Brown Turkey? Climate and Versatility
The Brown Turkey is often called the “Texas Everbearing” or the “English Brown Turkey,” depending on who is trying to sell it to you. It is exceptionally versatile. In warmer climates (Zones 8-11), it can grow into a massive, sprawling shade tree that produces two crops a year—a small “breba” crop on last year’s wood and a massive main crop on the new growth. In cooler climates (Zones 6-7), it can be grown in the ground with some winter protection, often dying back to the roots in a hard freeze but bouncing back with a vengeance in the spring.
If you live in a place where the ground turns into a popsicle in the winter, the Brown Turkey is a fantastic candidate for container growing. It handles heavy pruning like a champ, meaning you can keep it at a manageable 6-foot height and wheel it into a garage or basement when the snow starts flying. It isn’t picky about soil, though it appreciates a bit of lime if your soil is very acidic. Essentially, it is the golden retriever of the fig world: friendly, adaptable, and happy to be here.
The Goal: From Stick to Harvest
Once your cutting has filled its starter pot with roots—you’ll know because you’ll see them circling the bottom or poking out the drainage holes—it’s time to pot up. Move it to a one-gallon container, then a three-gallon, and eventually into its forever home. A well-fed Brown Turkey can easily produce fruit in its second or even first year if it’s happy.
When you finally harvest that first sun-warmed fig, bite into that purple-brown skin, and taste the honey-red center, you will realize that you have officially beaten the system. You didn’t buy this tree; you built it. You took a dormant piece of wood and, through a combination of science and stubbornness, turned it into food. That is the essence of gardening. It’s a little bit of magic and a lot of dirty fingernails.
Final Thoughts for the Budding Fig Obsessive
If you succeed with your Brown Turkey—and you will—be warned: this is a gateway drug. First, it’s a Brown Turkey. Then you hear about the Black Mission. Then someone whispers “Smith” or “Violette de Bordeaux” in your ear, and suddenly you’re researching the cold-hardiness of Italian honey figs at 2:00 AM. Your backyard will slowly transform into an orchard, and you will start judging people who buy store-bought fruit.
Don’t be afraid to make mistakes. If a cutting dies, it’s not a tragedy; it’s an opportunity to try again with a better understanding of your local environment. Gardening is a conversation between you and the earth, and sometimes the earth tells you that you’re overwatering. Listen, adjust, and keep growing. You’ve got this.
Ready to start your own fig empire? We’ve got the supplies, the cuttings, and the encouragement you need to stop dreaming about figs and start picking them.