


The Foolproof Fig Cutting Method That Actually Works
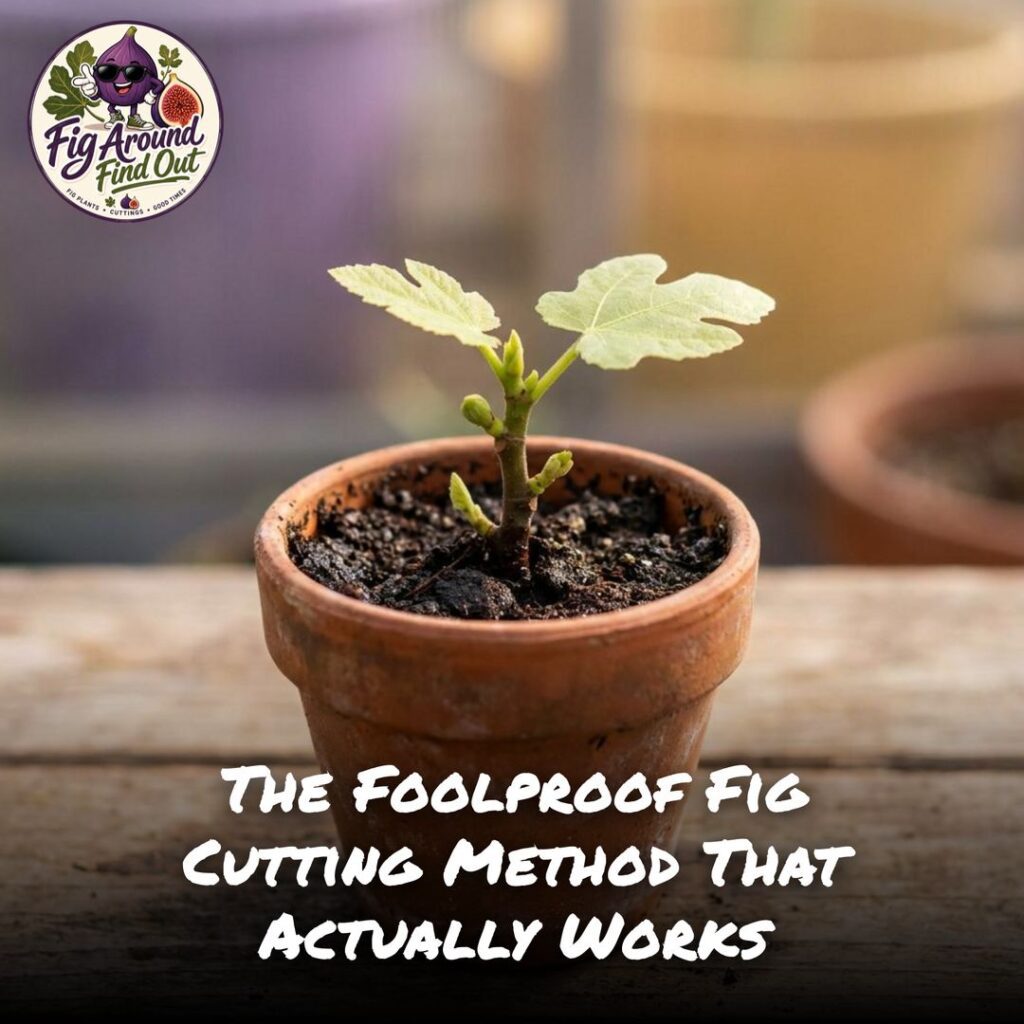
The Foolproof Fig Cutting Method That Actually Works
Let’s be real. Propagation sounds intimidating, right?
Like you need a PhD in botany just to convince a twig to grow roots. But fear not, my fig-loving friend. Figgy Smalls here to save the day. Or at least make it more interesting!
If you’ve ever wondered how to create your own fig forest without breaking the bank, the foolproof fig cutting method is your ticket. Don’t worry about the five other fig trees you’ll inevitably want to plant. Consider it an investment in happiness. Or chaos.
Tools You’ll Need
First things first, let’s talk about the arsenal you’ll need. You don’t have to storm your local garden center and buy everything that glitters… but you should. I mean, tools are important! Here’s the short list:
- Sharp Pruners: A dull pruner is about as useful as a spoon in a fork fight.
- Rooting Hormone: The magical powder that turns your fig cuttings into overachievers.
- Potting Mix: Not soil. Your fig cuttings aren’t looking to become muddy buddies.
- Container with Drainage: Because fig cuttings hate soggy shoes. Trust me.
- Stick-On Labels: So you can keep track of this questionable decision.
Now we’re ready to get our hands a little dirty.
Cutting Selection
Alright, step one—choosing the right fig cuttings. And no, that doesn’t mean blindly hacking at the nearest fig tree. You’re creating masterpieces here!
Here’s the golden rule for selecting cuttings:
- Choose a healthy, mature fig tree. That sad plant in the corner? Maybe not.
- Find a branch with new growth. We’re talking green or brown-ish, not the tree’s wrinkly old elbow.
- Make sure it’s about 8-10 inches long and has at least three nodes. Not too much, not too little—just right!
Cutting Treatment
Once you’ve picked the perfect branch, it’s time to turn it into a superstar cutting. This part is where we separate the figs from the … non-figs, I guess.
Step-by-Step Cutting Treatment
- Trim: Make a clean cut just above a node, ensuring it’s at a 45-degree angle. This helps the cut surface to root well. Remember, you’re a fig artist!
- Scratch: Gently scratch the bark off around the base of your cutting. We’re making room for roots to come out and party.
- Dip: Dip the cut end into rooting hormone. Think of it as giving your cutting a little self-esteem boost.
Now, your fig cutting is looking like it can take on the world. Or at least, root nicely in a pot.
Planting the Cutting
This part is where we help your fig dreams take root, quite literally.
Fill a container with potting mix, damp but not swampy. Imagine you’re making a mini beach for tiny trees. Okay, maybe that’s a stretch, but stick with me.
Steps for Planting
- Make a hole in the potting mix with your finger or a stick about 2-3 inches deep.
- Put the cutting into the hole, cut side down. Nobody enjoys being upside down, not even a fig!
- Gently firm the potting mix around the base of the cutting. It’s like a hug… from dirt.
Your cutting is now snug in its new home. Label it. Naming your cuttings is optional, but highly recommended for secret best friends!
Creating the Ideal Environment
Just like you’d prefer a warm vacation over a cold basement, your fig cuttings do too.
- Light: They love bright, indirect sunlight like a celebrity avoiding the paparazzi.
- Temperature: Aim for a cozy 70-75°F. Figs prefer moderate climates—extremes make them grumpy.
- Humidity: High humidity is your friend here. Plastic bags over your pots can help trap moisture, creating a mini greenhouse effect that figs find irresistible.
Check in with your little budding beauties frequently. It’s like being a plant detective, minus the magnifying glass.
Monitoring and Patience
As the self-proclaimed King of Backyard Figs (no one argued, so the crown stays!), I must prepare you for the waiting game.
Fig cuttings take their sweet time to root. You’re cultivating patience here as much as figs. Check them to ensure they stay moist—not drowned—and resist the urge to tug on them to “check” your progress. It’s like pulling a cake out of the oven too soon. Just no.
In about 4 to 6 weeks, you should begin to see roots. And by “see,” I mean don’t pick them up—take a peek gently. Rookie mistake, I know.
Once they start rooting, you’re pretty much a proud fig parent. Feel free to brag. Take selfies, send cards. Share your fig root success story.
Transplanting Your Rooted Figs
When your cuttings are firmly anchored in trust and roots, it’s finally time for them to spread their wings. Or roots, technically.
- Choose a new pot that is a little larger, or plant directly in the garden if it’s warm enough.
- Ensure the new soil is well-draining. Remember the fig rule: Swampy roots are unhappy roots.
- Ease the rooted cutting into its new spot, being gentle as you arrange the roots.
Celebrations are in order! You didn’t just root a cutting; you fueled a new obsession. Soon you’ll need labels for each of your six, twelve, then twenty-seven trees!
Recap: The Gold Mine of Fig Trees
So there you have it: the foolproof fig cutting method. It’s like a gateway drug to an entire orchard in your backyard. Who knew you had such green fingers?
Remember, when it comes to figs and life: “Commitment issues? Start with a cutting.” You can always count on Figgy Smalls to support poor financial decisions—as long as they’re all about fig trees.
Shop Our Best Sellers
-

Rooting Hard or Hardly Rooting
$49.00 Select options This product has multiple variants. The options may be chosen on the product page -
Nice Figs
$49.00 Select options This product has multiple variants. The options may be chosen on the product page -
Show Me Your Cuttings
$49.00 Select options This product has multiple variants. The options may be chosen on the product page -
I Like Big Figs
$49.00 Select options This product has multiple variants. The options may be chosen on the product page -
Brown Turkey Fig Cutting
$10.00 Add to cart